3. Ubuntu installation on Windows 10
Attention
to be prepared!
A PC or laptop with an original Windows 10 operating system (or one that can updated). If you are using an earlier version of Windows, please browse how to install Ubuntu according to the operating system that you are using.
Internet connection
In brief, the Ferret installation steps on the Windows 10 operating system are as follows:
install Linux (Ubuntu) on Windows 10, and
install Ferret on the Linux platform at the previous stage.
3.1. Requirements
You will need a x86 PC running Windows 10 (but x64 is working too). Windows 10 needs to be updated to include the Windows 10 Fall Creators update, released October 2017. This update includes the Windows Subsystem for Linux which is needed to run the Ubuntu terminal.
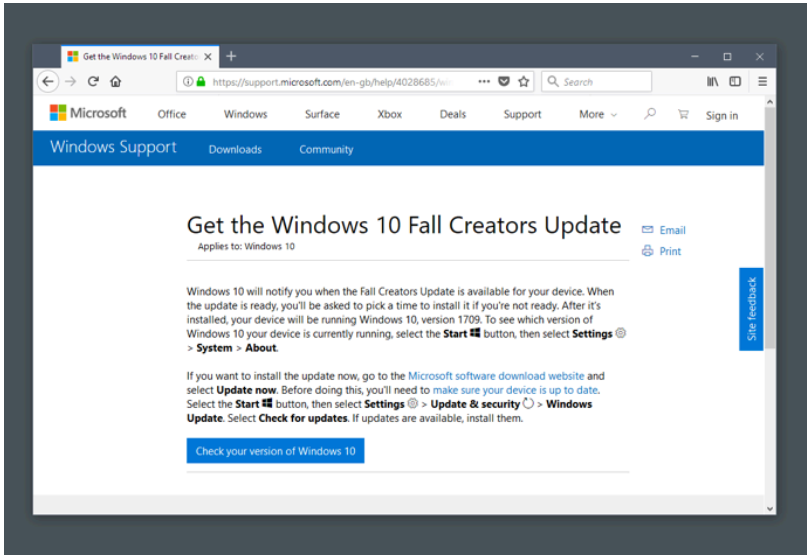
Windows 10 update
3.2. Enable WSL (Windows Subsystem for Linux)
To enable WSL 1 on Windows 10 Fall Creators update and newer run the following in PowerShell as Administrator:
dism.exe /online /enable-feature /featurename:Microsoft-Windows-Subsystem-Linux /all /norestart
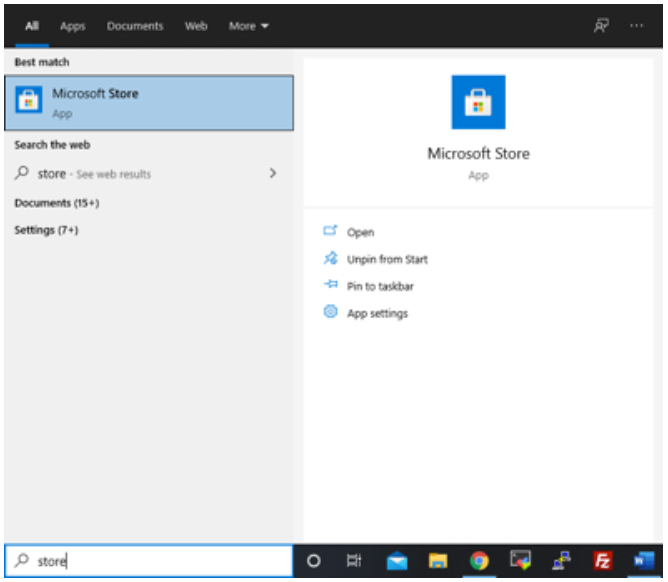
To run PowerShell, specifically, as administrator from the search bar:
Click on the search box at the taskbar and type powershell. This action will bring up the PowerShell edition of your preference.
Look for Windows PowerShell or just PowerShell, if using PowerShell Core, from the search result.
Right-click on the menu item and select Run as administrator.
You can see these steps demonstrated in the screenshot below:
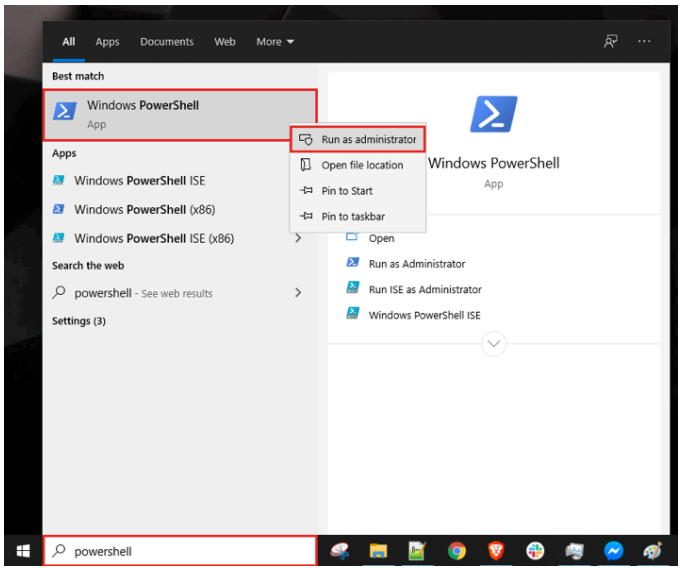
Windows Powershell App
Type command above in the PowerShell window:
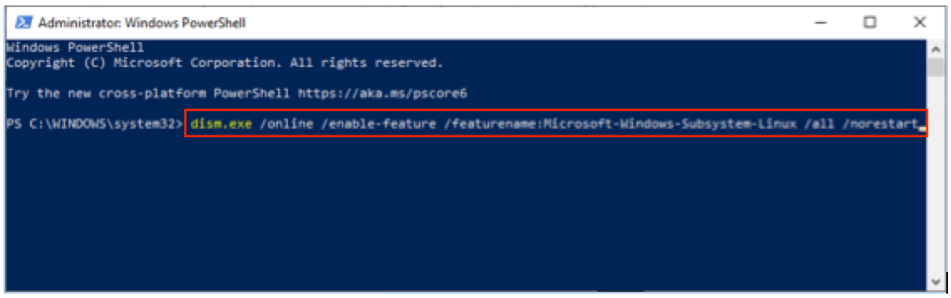
dism.exe
After enter the command you can see the window as below:
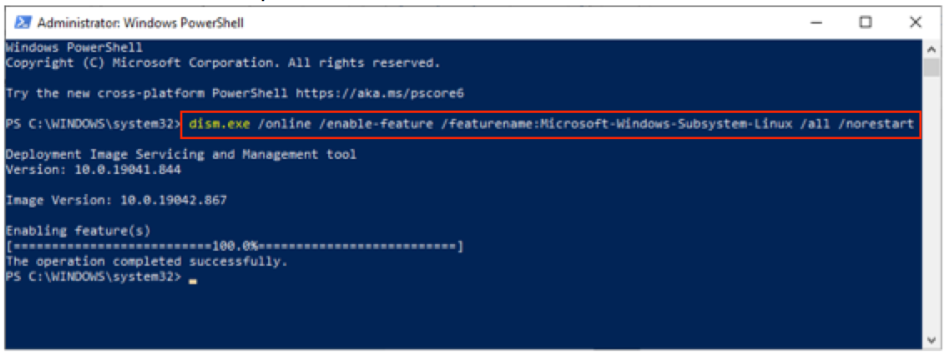
Enabling feature(s)
To enable WSL 2 on Windows 10 May 2020 update and newer run the following in PowerShell as Administrator:
dism.exe /online /enable-feature /featurename:VirtualMachinePlatform /all /norestart
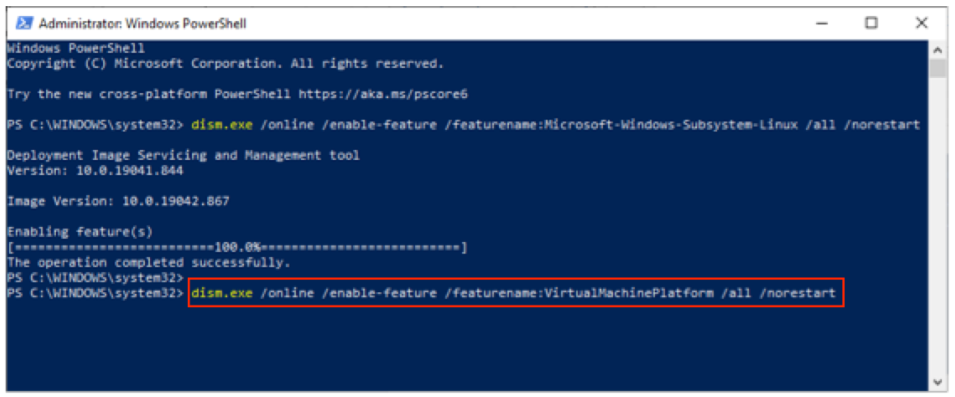
Enabling WSL 2 on Windows 10
After enter the command you can see the window as below:
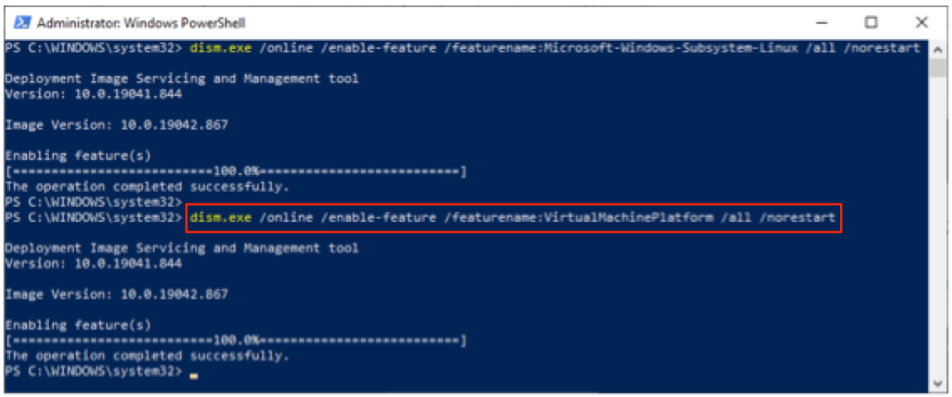
Enabling feature(s) WSL 2 on Windows 10
and then restart Windows 10.
3.3. Install Ubuntu for Windows 10
Ubuntu can be installed from the Microsoft Store:
Use the Start menu to launch the Microsoft Store application
Search for Ubuntu and select the first result, ‘Ubuntu’, published by Canonical Group Limited.
Click on the Install button.
Ubuntu will be downloaded and installed automatically. Progress will be reported within the Microsoft Store application.
Microsoft Store
After search Ubuntu in Microsoft Store the result will shown as below:
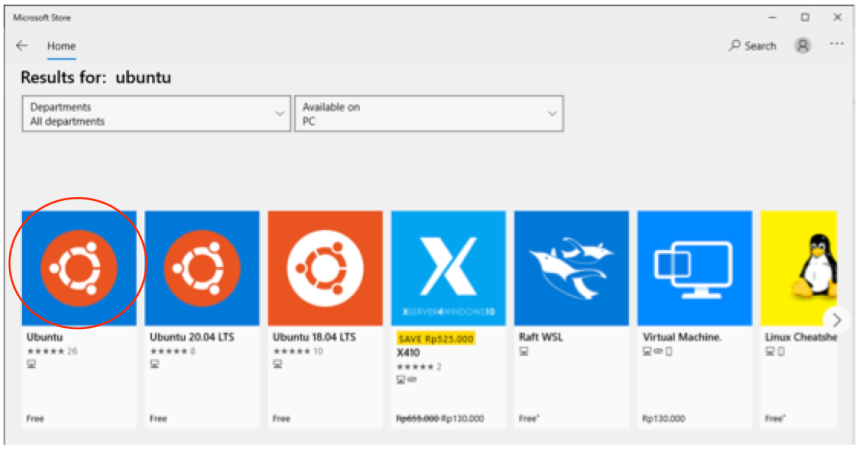
Ubuntu at Microsoft Store
Select the first result and click ‘get’ botton or ‘install’ botton. Result of installing process is shown as below:
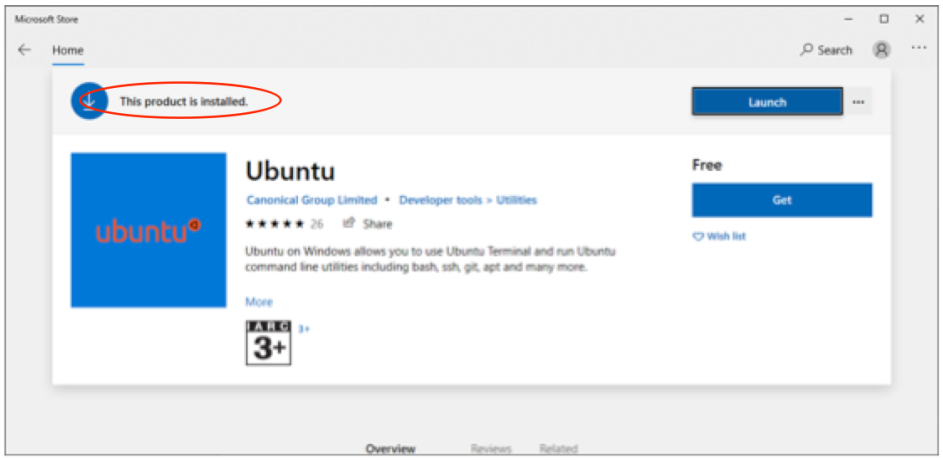
Ubuntu installed
3.4. Launch Ubuntu on Windows 10
Ubuntu can now be launched in the same way as any other Windows 10 application, such as searching for and selecting Ubuntu in the Start menu.
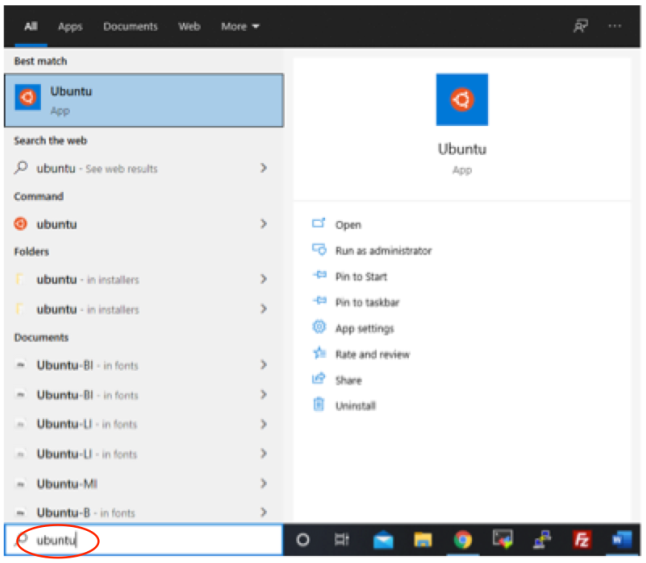
Launch Ubuntu
When complete, you’ll be asked for a username and password specific to your Ubuntu installation. These don’t need to be the same as your Windows 10 credentials. With this step complete, you’ll find yourself at the Ubuntu bash command line.
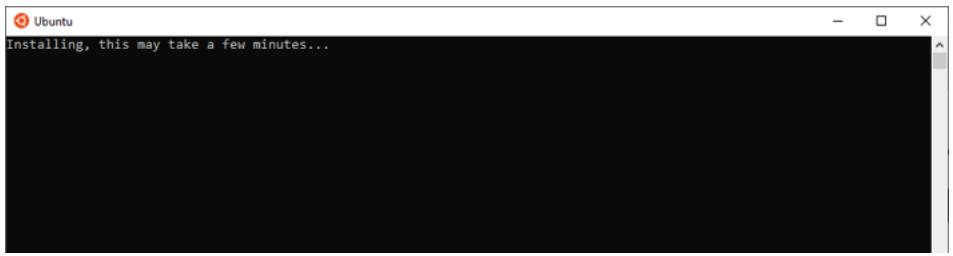
Ubuntu Terminal
Type your username and password then result of installation process is shown as below.
Attention
When you type your password, there is NO any character will be shown, just type and press enter.

Input UNIX username and password
Congratulations! You have successfully installed and activated the Ubuntu terminal on Windows 10. You now have all the power of the command line at your fingertips.