4. Ferret/PyFerret installation on Ubuntu
4.1. Create folder on D: or E: partition
For example the folder name is ferret_training
4.2. Download and install miniconda
Download Miniconda2-latest-Linux-x86_64.sh file from drive that shared for training participants and locate to folder created above (ex: ferret_training).
Launch ubuntu and change work directory to Miniconda2-latest-Linux-x86_64.sh file is located.
Hint
Hint: To check current work directory type ‘pwd’ (without quote) on ubuntu terminal and press enter.
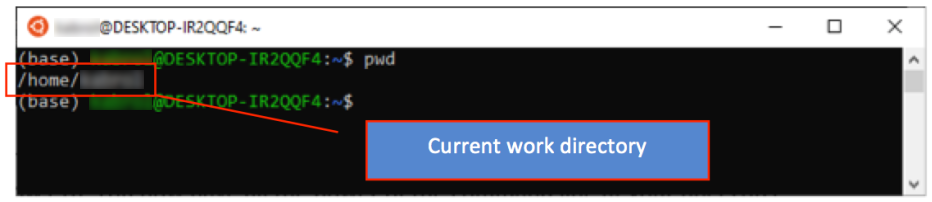
check current working directory
Change work directory to folder that Miniconda2-latest-Linux-x86_64.sh file is located (for ex: E:BayuTraining_ferret).
Type ‘cd file_directory_path’ (without quote) to change work directory.
Note
To change to Windows folder/directory, usually we use ‘../../mnt/’ then followed by partition name and folder name. Example is shown as below:
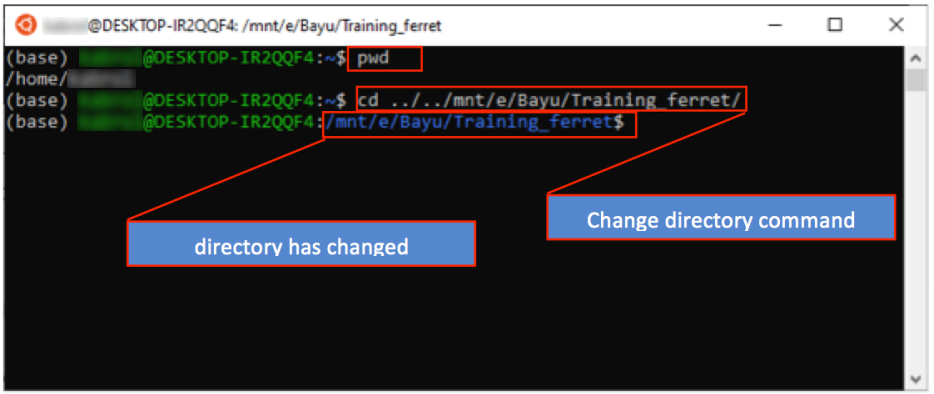
change directory
Check whether it is in the correct directory. By type ‘ls -l’ we should see Miniconda2-latestLinux-x86_64.sh file in this directory.
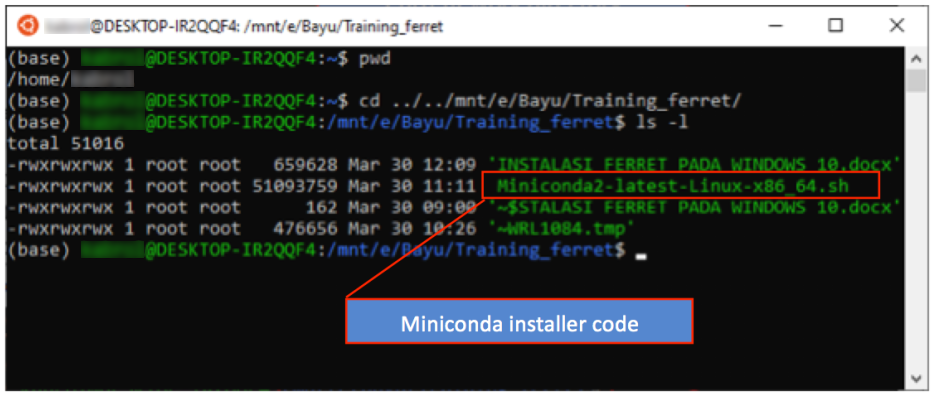
list Miniconda installer code
Run Miniconda2-latest-Linux-x86_64.sh script use command as followings:
./Miniconda2-latest-Linux-x86_64.sh
The result after press enter will be shown below:

Run Miniconda shell script
Press enter several time to review license agreement:
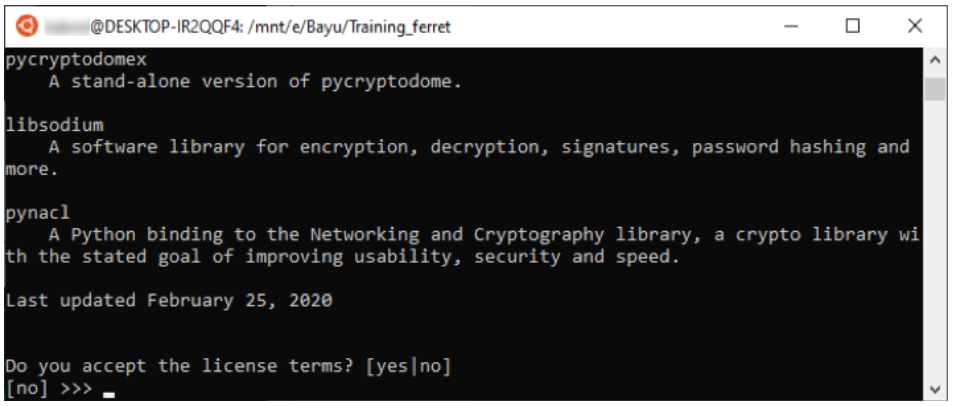
Review License Agreement
Type ‘yes’ (without quote) then press enter:
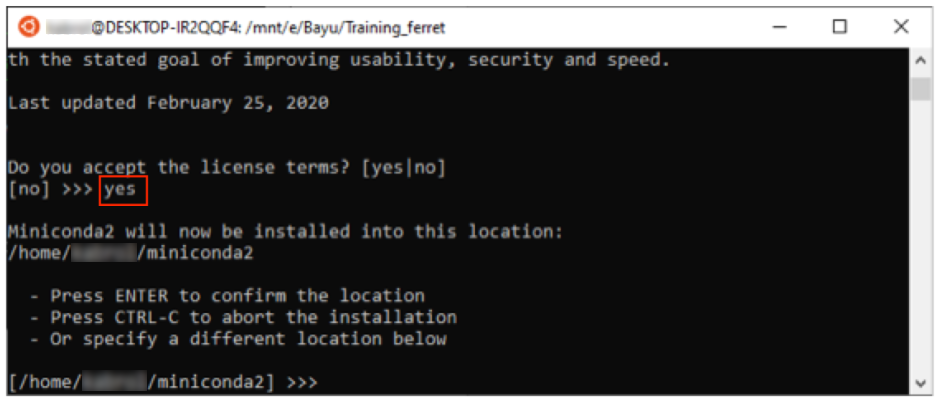
Accepting the license terms
Press enter, after extracting the result will be shown as below:

All requested packaged already installed
Type ‘yes’ (without quote) then press enter:

Finished of Miniconda installation
Close ubuntu terminal by type ‘exit’ then press enter or click X sign on upper right corner.
4.3. Download and install Ferret/PyFerret
Launch Ubuntu terminal

Launch Ubuntu terminal
Download and install PyFerret using miniconda by type below command and press enter
conda create -n FERRET -c conda-forge pyferret --yes

Launch Miniconda environment
PyFerret already installed. To launch ferret, environment where we installed pyferret is needed.
Type below command and press enter to activate this environment
source activate FERRET

activate FERRET env
Type ‘ferret’ (without quote) then press enter to launch Ferret in Ubuntu
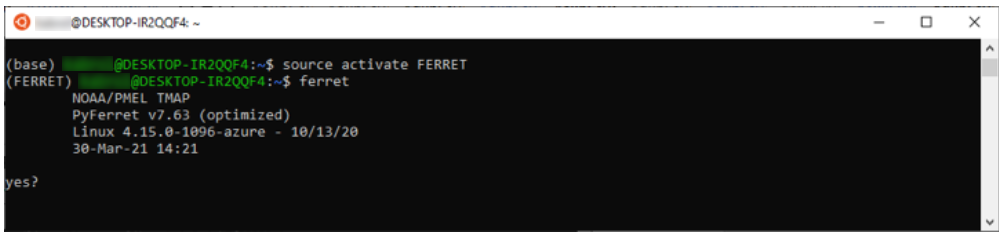
FERRET Launch
PyFerret already installed but to launch graphical visualization an X server will need to be installed on the Windows 10 system and the DISPLAY variable will need to be set in Bash.
4.4. Install graphical program on WSL
Make sure to close Ubuntu terminal before you install graphical program on WSL.
Download XMing software installer from https://xming.en.softonic.com/download or from training shared drive.
Install XMing by double-click installer file.
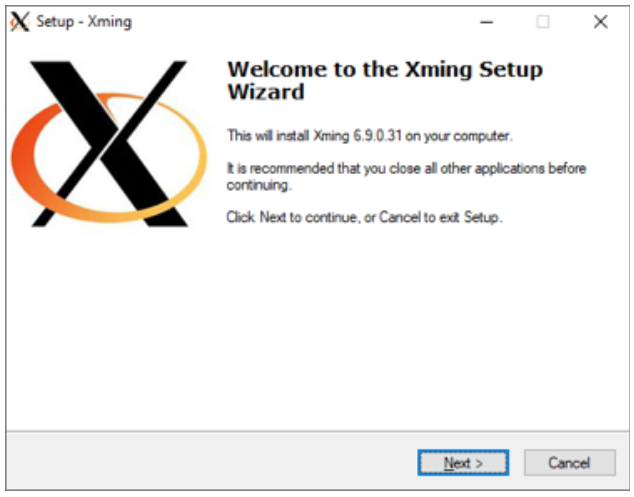
XMing Setup Wizard
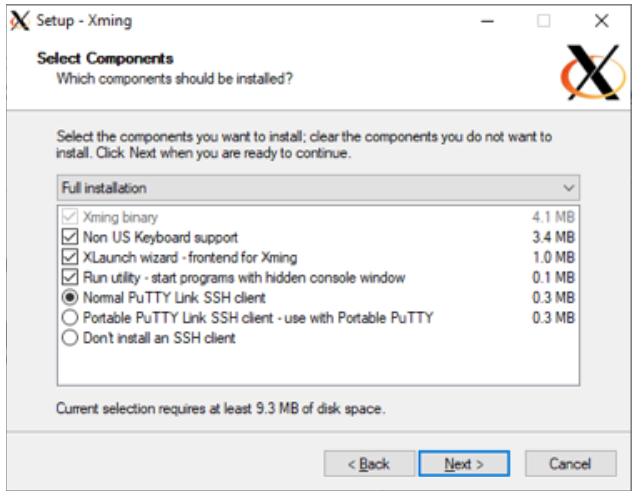
Select components of XMing to be install
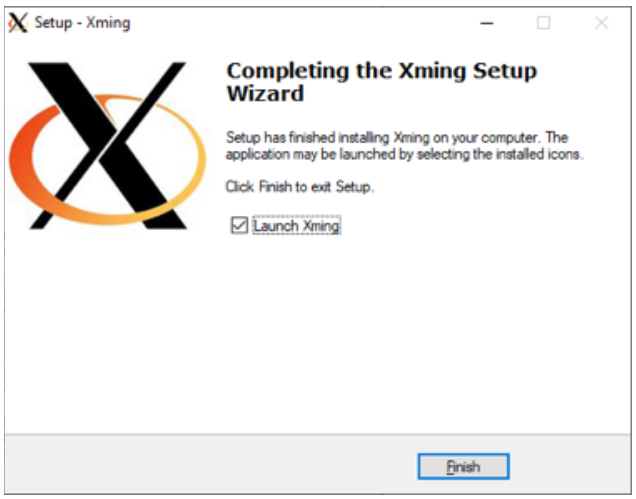
Completing the XMing Setup Wizard
Tip
Tip: If XMing is properly installed and launched, it will be shown small icon of XMing on Windows taskbar.
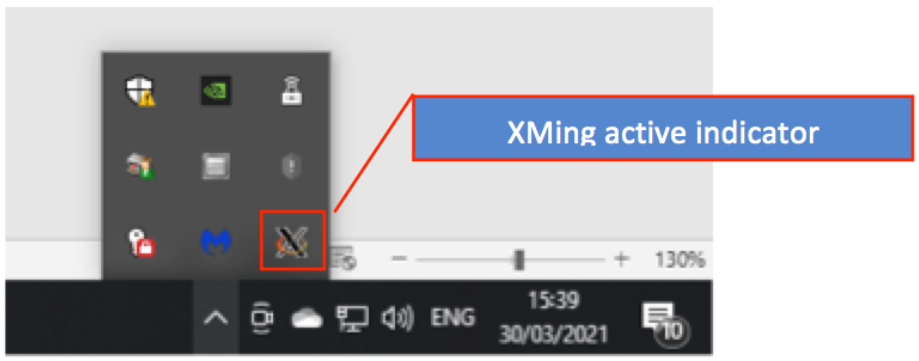
XMing active indicator
Once you have an X server installed and running, you’ll need to install graphics applications.
Attention
Attention: To download and install it run the following command on Ubuntu terminal:
sudo apt-get install x11-apps
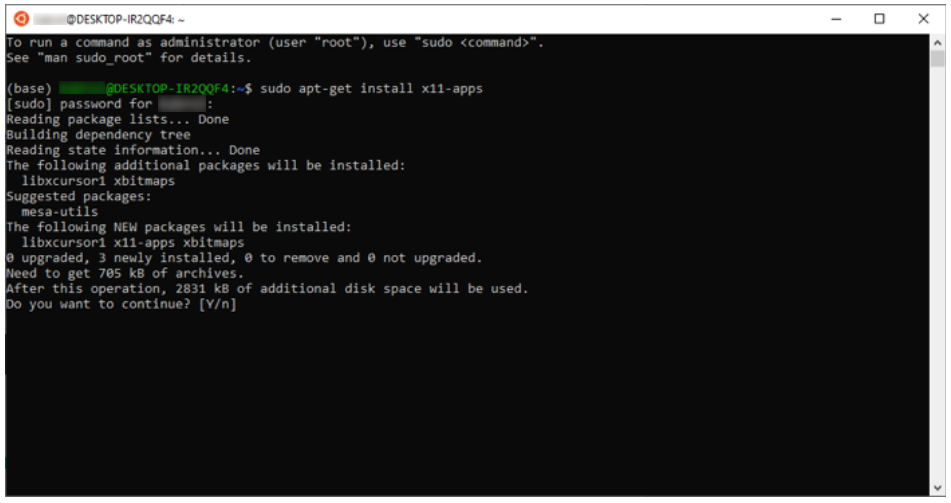
x11-apps installation
Type ‘Y’ and press enter:
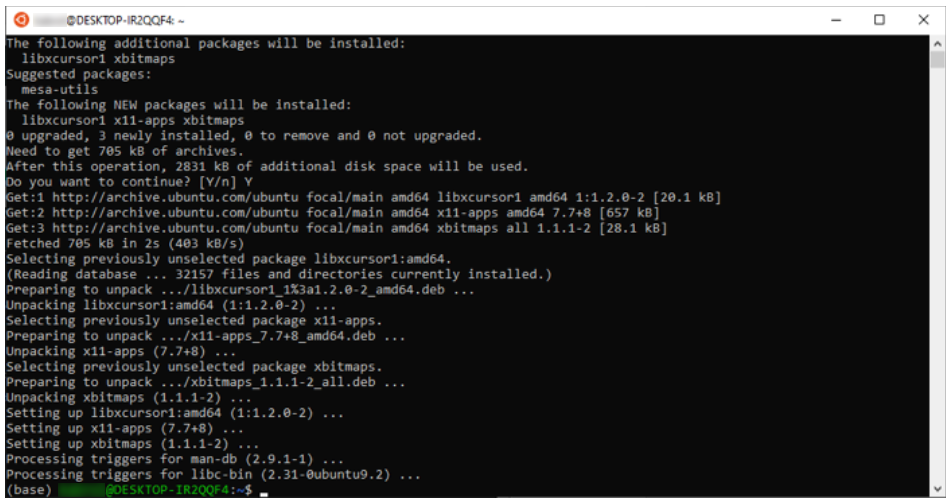
x11-apps installation completed
Once the applications have been installed, you can start them by setting your display and executing the application on the Bash shell.
Type following command on Ubuntu terminal and press enter:
export DISPLAY=:0

export DISPLAY
4.5. Automatic ferret environment and WSL graphical activated
Using ferret environment and WSL graphical may need to comment the lines that launch the conda environment and Windows X server.
To make it easier, you can add command lines in .bashrc file that located in the home folder.
In a new terminal, type the following:
cd ~/
nano .bashrc
Scroll to the bottom of the file and add following lines
conda activate FERRET
export DISPLAY=:0

automatic environment setup
Attention
Press Ctrl+x, press ‘Y’ then press enter. Close the terminal by type ‘exit’ and press enter or click X sign on upper right corner.
4.6. Test installed Ferret/PyFerret
Open Ubuntu terminal from Windows start menu.
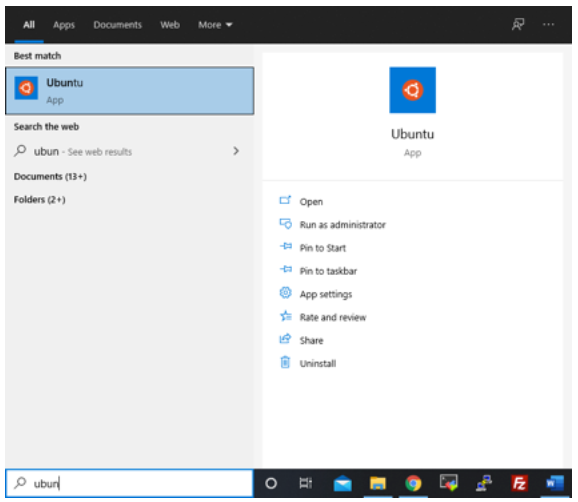
Ubuntu Launch
Type ‘ferret’ (without quote) in ubuntu terminal then press enter.
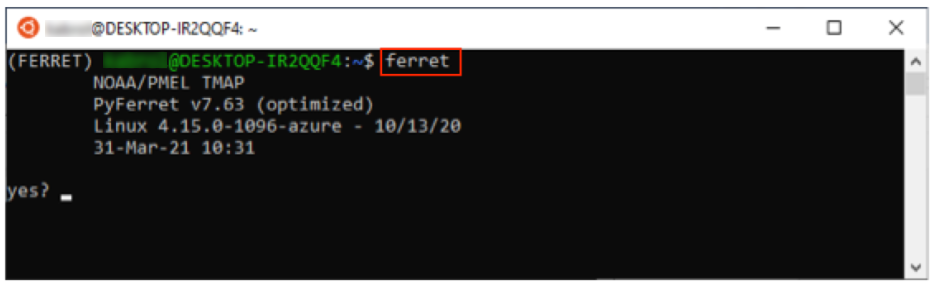
Ferret Launch
Ferret software is ready to use.
Tip
For checking WSL graphical program that we need to visualize data plot, ferret demonstration script can be used.
The jnl files are “go scripts”, available to you when you run Ferret, for example: “GO tutorial” shows you around Ferret.
Type ‘go tutorial’ (without quote) and press enter:

go tutorial demo
Press enter:

plot demo
Press enter several times will show you example of scripts and plot results:

plot multiple views demo

vector demo

fill demo
Type ‘quit’ (without quote) to exit ferret and back to ubuntu terminal.
This is end of installationGuide’s document.
GOOD LUCK!!!